Tuesday, February 21, 2012

Felt Flower

This one is great for all ages (even for adults), you can add as much or as little to this craft as you like, and it is something you can go back to time and time again.

If your child is to young to use scissors, than an adult will need to cut out the flower shapes for them; i would suggest cutting out 4 or 5 different flower shapes so that the child can atleast pick which one they would like to use for their first flower. Otherwise just keep an eye on them while cutting, felt can be tricky.

What you will need:
  • Various colours of felt; you can use as many different colours as you want, but you need a minimum of 2 colours.
  • Liquid glue
  • Pipecleaner; green is standard for flowers but not required.

  • Exrta pieces; small objects to attached to the flower, bugs, jewels, ect.

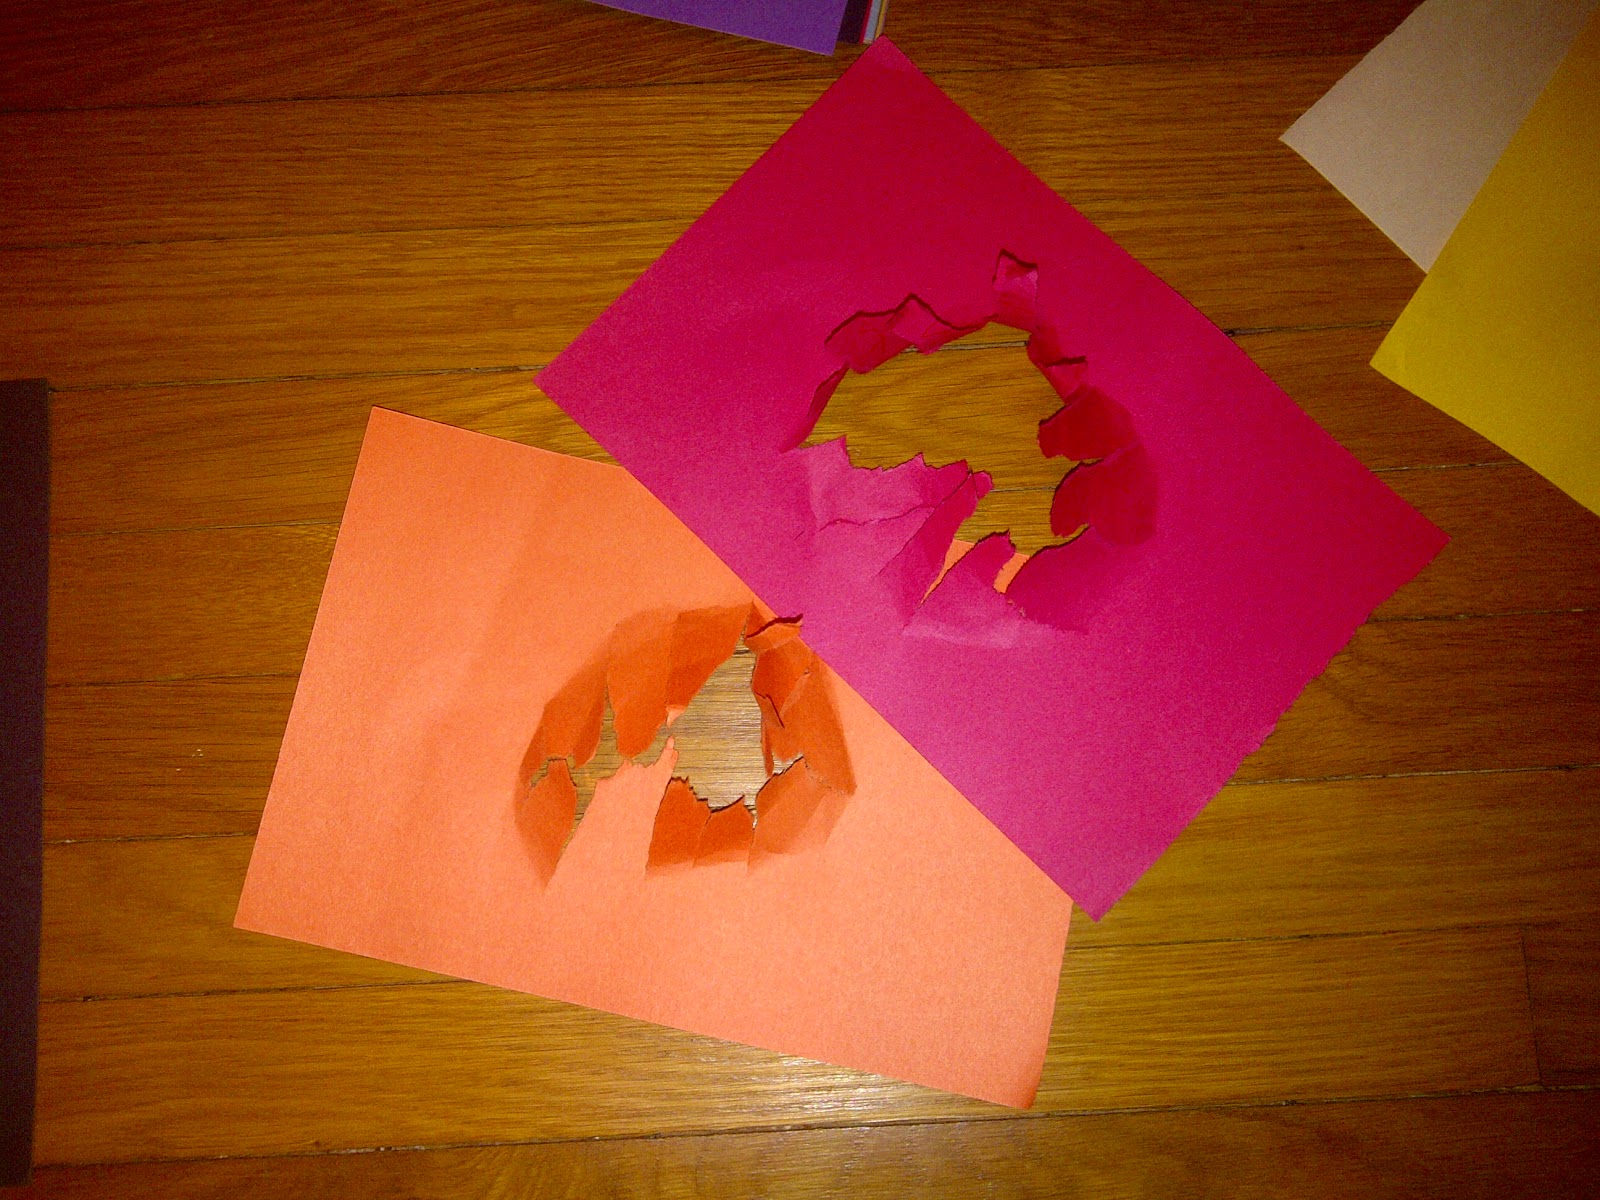
  • So the first thing you will need to do is create your flower; cut out a small square from your flower colour felt.
    Fold this piece of felt into half, than half again; this will allow you to cut your flower pettals and make them somewhat symetrical.
    You can cut out as many pettals that you want or as little, its your flower!
    Cut a VERY tiny hole in the center of your flower; this will be where we insert the pipecleaner.

    Poke your pipecleaner through the hole


    Once you pull the pipecleaner through, bend and twist the end and flatten it so that it will not pull through the hole you made AND so that it will not stick up once you put the center on your flower. 

    After that, place a glob of liquid glue in the center of the flower (or if your my child all over the place, LOVE IT) and place the center of your flower; a small circle cut out of the second colour of felt.


    Fold remaining pipecleaner in half and twist, this will make your flower stem more stable, though this step is not required if you desire a long stem flower.

    Now your basic flower is done; well once you let it dry it will be.

    But feel free to do more to this:
  • Add glue to pettals, and sprinkle with sparkles
  • Make and add leaves
  • Add multiple layers of pettals or center
  • Add little characters to your flower


  • Don't forget to send me some of your images to be posted!

    Scrap Paper Collage

    This craft is good with left over art scraps, though i used craft paper for this one, you can use left over fabric, pipecleaners, buttons.  Anything you have laying around.  This activity is great for all ages. My daughter has been working on hers for a few days now, and is always excited to get back to it.  I suggest using small boards for younger children, as it might take them to long to fill anything to large.

    What you will need:

  • Square piece of cardboard; this will be what you will be mounting your materials onto


  • pile of scrap to use
    • you can use anything you like, that you may have laying around.
  • Gluestick

  • Now this craft is just as easy as it looks, all you need to do is glue your scrapts onto your board to create anything you wish; if it ends up looking like anything at all.
    You can make it into a collage of just scraps, or you can add in little details; the image on the left has a flower and the one on the right has a pipecleaner.


    Don't forget to send me some of your images to be posted!

    Friday, February 17, 2012

    Exploding out of the page

    Here's something that encourages kids to ripe paper.  By layering sheets of colour paper, and tearing up the center, you can make a drawing seem like it is EXPLODING from the page.

    This might be a project for children 3+, my daughter enjoys the glueing and the ripping, but hasn't gotten to the drawing yet; just keep it in mind.

    What you will need:

    • 3 Sheets of construction page


    • 1 sheet for your Character/Drawing


    • Scissors
    • Glue Stick
    • Colouring material - Crayons, Paint, Markers, ect.
    What you need to do:

    Punch a hole through the CENTER of 2 sheets of construction paper. (your third sheet is your background to your image, so choose your colours based on that)

    Next, tear the paper from that center point around to make a circular opening in the paper.

    Once you have done this to 2 sheets of paper you are going to need to glue those 3 pieces together; the 2 sheets that you just ripped and the extra piece we set aside.
    You are also going to need to fold back all those pieces you ripped so that they stand up and flare out.  Once completed, set this aside to dry.

    While you background is drying, it is time to draw your character that you want EXPLODING from your page. - this is the one i did.
    You will need to cut him out in order to be able to glue it to your back ground.
    Once cut out, fold a portion of your drawing; the one side will be glued down to the background, and the other will be what will be coming off the page.

    Time to glue your character down and reveal your scene.

    As i mentioned above still waiting for my daughter to finish her's, i will post it once she completes it.

    Finger Painting Fun

    Who doesn't love getting messy with your hands.  Also what child doesn't love getting messy with ANYTHING.

    Let your child express themselves with this fun and easy craft idea.

    What you will need:

  • Newspaper/Garbage Bag to cover surface
  • Apron, smock, or old oversize shirt - something to keep your child somewhat clean (doesn't really work but they still love to wear it)
  • Paper for painting on.

    • Suggestions: Water-resistant paper, including shiny finger painting paper, drawer liner paper, waterproof wallpaper, smooth finished cardboard, the back of a plastic tray
    Paint Method - these are some options for paint mixtures, though you can use just normal paint as well.

    Finger paint #1

  •   1 to 3 tablespoons liquid starch
  •   1 tablespoon tempera paint (various colours) Spread liquid starch (instead of water) on finger-painting surface. Add tempera paint.

    Finger paint #2
  •   4 cups cold water
  •   1 cup cornstarch
  •   1 teaspoon tempera paint or food coloring (various colours)  Mix water and cornstarch; cook over medium heat until thick, stirring constantly. Remove from heat and add paint or food coloring, or divide the mixture into three parts and add three different colors.


  • Finger paint #3

  •   Tempera Paint (various colours)


  • Finger Painting is one of the best forms of expression for children when they are young.  it allows them to use their body to express themselves with colours and show emotion that they may not be able to express yet.  a little mess never hurt anyone, and allowing a large surface for your child to paint will be well worth it to you and to them.

    Time to get dirty.

    Marianne's - there's like 5 layers of paint!
    i thought i'd join in the fun, there's some
    baby prints in there somewhere

    About my blog

    Hi my name is Kristina Youngblut.

    My daughter and I LOVE crafts, and i mean we love them.

    So we are going to post some of the items we create and a tutorial on how we did things.  Please feel free to submit photos of the items you create using my tutorials and i will post them in a gallery for EVERYONE to enjoy.

    Now my daughter is only 30 months old, so the crafts that will get posted are especially friendly to the younger groups but i'm sure any age will love to do almost any of these crafts.

    If you have suggestions about a craft for children please send me a message and my daughter and i will look into creating your piece and posting a tutorial about it.  Please attach your name so that i may note that in the tutorial (you might as well get some credit).

    This blog is all about having fun, so enjoy and lets gets crafty!

    Paper Plate Craft - little fishies

    There is one thing almost ever child loves, FISH!!!

    Let them make some fish of their own to play with. (if you use paper plates you can recycle them once the children break or get bored with them)

    What you will need (items for one fish):

  • 2 Paper Plates

    • you can also use styroform

  • Scissors
  • Glue Stick - or - Stapler - or - Paper Fasterner (so the tail can move)
  • Colouring items; crayons, markers, paint, tissue paper

  • What you need to do:

    
    Cut out a small triangle from the plate - this will be your fish's mouth.  Children can use saftey scissors, other an adult should cut out the pieces.
    
     
    Out of second plate cut out another triangle, this will be the fish's tail.  You can make multiple tails for your fish from this second plate, so you can make a whole school of fish.
    
    Now you will need to Glue/Staple/Paper fastener your tail onto your fish's body.
    Time to colour your fish!

    You can use any material to colour your fish (see materials above). You can also mix and match your materials.

    Here is one my daughter did:
    and this is hers and mine together.

    my fish is trying to eat her foot..mmmm yummy.